
Quicksilver
-
Posts
2,890 -
Joined
-
Days Won
220
Content Type
Profiles
Forums
Events
Everything posted by Quicksilver
-
untilCMP FH2 Campaign #17: The Unyielding Battle #6: Lenino History "During the eventual assault little went according to plan.The artillery barrage was due to start at 8:20 a.m., but was postponed because of thick fog. It was to last 100 minutes, but the commanding officer of the Soviet 33rd Army, General Vasili Nikolaevich Gordov, called it off after less than an hour, believing the German lines to be already destroyed by Soviet Katyusha rocket launchers. The infantry assault started at 10 a.m. A steady line of Polish troops from the 1st Regiment reached the lines of the 1st battalion, and then the first line of German trenches almost unopposed. However, the German forces had simply withdrawn to the second line due to the artillery barrage, which allowed their forces to avoid losses. In the open fields between the German lines, the Polish infantry was being decimated by concentrated fire from German machine guns. While the second line was also captured, this victory came at a price: Soviet units that were to cover both flanks of the Polish infantry did not leave their initial positions and the Polish spearhead suffered heavy losses both from flanking machine guns and the friendly fire of Soviet artillery. The 2nd Regiment on the northern flank fared little better. It reached the first German line almost unopposed and by noon, it had managed to capture the village of Polzukhi, which was located between the German first and second lines of trenches. The German units counter-attacked and a close-quarters fight for the burning village ensued. While it was ultimately secured by a flanking manoeuvre of the 3rd battalion, the regiment suffered tremendous losses. In addition to that, the army's supplies failed to reach the fighting units and most of its companies were short of ammunition. Because of that, any further advance had to be halted. Meanwhile, the 1st Regiment was threatened from a strong German position in the village of Trigubovo on its left flank. The village was to be secured by the Soviet 290th Infantry Division, which however failed to reach this objective. After heavy fighting the village was secured around noon, but then the logistics failed and ammunition supplies of the regiment were depleted as well. By noon, although the Polish 1st Division had managed to strike a three kilometre deep wedge into the German lines, the assault had to be halted. Soviet tanks, that were to support the breakthrough, did not cross the Mereya river and both Soviet divisions were stopped near their initial lines. Only after noon did the tanks start to cross the river. While improvised bridges were prepared by engineers, the paths leading towards the river were swampy. The 2nd tank company lost five tanks to malfunctions, two to enemy fire, while the remaining three could not reach the river crossings at all. The 1st tank company was to cross the river via a bridge in Lenino. Moreover, their advance was halted by German aerial bombardment, suffering further losses during the battles for Polzukhi and Trigubovo. The swampy river valley proved to be a problem to artillery as well: light infantry guns and mortars had to be carried by foot soldiers as wheeled transport could not cross the obstacle."
-
 untilCMP FH2 Campaign #17: The Unyielding Battle #5: Operation Little Saturn History "Operation Saturn, revised as Operation Little Saturn, was a Red Army operation on the Eastern Front of World War II that led to battles in the northern Caucasus and Donets Basin regions of the Soviet Union from December 1942 to February 1943. The success of Operation Uranus, launched on 19 November 1942, had trapped 200,000 - 250,000 troops of General Friedrich Paulus's German 6th Army and 4th Panzer Army in Stalingrad. To exploit this victory, the Soviet general staff planned a winter campaign of continuous and highly ambitious offensive operations, codenamed "Saturn". Soviet forces consolidated their positions around Stalingrad, and fierce fighting to shrink the pocket began. Operation Winter Storm (Operation Wintergewitter), a German attempt lead by Manstein to relieve the trapped army from the south, was successfully fended off by the Soviets in December. The full impact of the harsh Russian winter set in. The Volga froze solid, allowing the Soviets to supply their forces more easily. The trapped Germans rapidly ran out of heating fuel and medical supplies, and thousands started to die of frostbite, malnutrition, and disease. On 16 December, the Soviets launched a second offensive, Operation Little Saturn, which attempted to punch through the Axis army on the Don and take Rostov. If successful, this offensive would have trapped the remainder of Army Group South, ⅓ of the entire German army in Russia, in the Caucasus. The Germans set up a "mobile defense" in which small units were to hold towns until supporting armor could arrive. From the Soviet bridgehead at Mamon, 15 divisions—supported by at least 100 tanks—attacked the Italian Cosseria and Ravenna Divisions, and although outnumbered 9 to 1, the Italians resisted until 19 December, when ARMIR headquarters finally ordered the battered divisions to withdraw.[37] The Soviets never got close to Rostov, but the fighting forced von Manstein to extract Army Group A from the Caucasus and re-establish the frontline some 250 km (160 mi) away from the city. The Tatsinskaya Raid also caused significant losses to the Luftwaffe's transport fleet. The 6th Army now was beyond all hope of German reinforcement. The German troops in Stalingrad were not told this, however, and continued to believe that reinforcements were on their way. Some German officers requested that Paulus defy Hitler’s orders to stand fast and instead attempt to break out of the Stalingrad pocket. Paulus refused, as he abhorred the thought of disobeying orders. Also, while a motorised breakout might have been possible in the first few weeks, the 6th Army now had insufficient fuel and the German soldiers would have faced great difficulty breaking through the Soviet lines on foot in harsh winter conditions."
 -
TT = Total Tickets Remaining | T RVP = Round Bonus Modifier | T TVP = Total Tickets Bonus Modifier RVP = Round Victory Points | TVP = Total Victory Points
-
- 8
-

-

-
untilCMP FH2 Campaign #17: The Unyielding Battle #4: Operation Mars History "Operation Mars was the codename for the Second Rzhev-Sychevka Offensive Operation (Russian: Вторая Ржевско-Сычёвская наступательная операция) launched by Soviet forces against German forces during World War II. It took place between 25 November and 20 December 1942 around the Rzhev salient in the vicinity of Moscow. The offensive was a joint operation of the Soviet Western Front and Kalinin Front coordinated by Georgy Zhukov. The basic plan of the offensive was to eliminate the Rzhev salient by launching multiple, coordinated thrusts from all sides of the salient. After the destruction of the German 9th Army, the forces would regroup and link up with the 5th and 33rd Armies which were to attack along the Moscow-Vyazma highway. This latter part of the operation was codenamed Operation Jupiter. When resistance around Vyazma was neutralized, the 9th and 10th tank corps and the 3rd Tank Army would then penetrate deeper into the rear of Army Group Centre. The offensive was one in a series of particularly bloody engagements collectively known in Soviet and Russian histories as the Battles of Rzhev, which occurred near Rzhev, Sychevka and Vyazma between January 1942 and March 1943. The battles became known as the "Rzhev meat grinder" ("Ржевская мясорубка") for their huge losses, particularly on the Soviet side. For many years it was relegated to a footnote in Soviet military history. "
-
untilCMP FH2 Campaign #17: The Unyielding Battle #3: Operation Edelweiss History "After neutralizing the Soviet counter-attack in the Izyum-Barvenkovsk direction the German Army Group A rapidly attacked towards the Caucasus. When Rostov-on-Don, nicknamed "The Gates of Caucasus," were reached on 23 July 1942 (falling on the 27th), the tank units of Ewald von Kleist moved towards the Caucasian Mountain Range. The "Edelweiß" division commander, Hubert Lanz, decided to advance through the gorges of rivers of the Kuban River basin and by crossing the Marukhskiy Pass (Maly Zelenchuk River), Teberda, Uchkulan reach the Klukhorskiy Pass, and simultaneously through the Khotyu-tau Pass block the upper reaches of the Baksan River and the Donguz-Orun and Becho passes. Concurrently with the outflanking maneuvers, the Caucasian Mountain Range was supposed to be crossed through such passes as Sancharo, Klukhorskiy and Marukhskiy to reach Kutaisi, Zugdidi, Sukhumi and the Soviet Georgian capital city of Tbilisi. The units of the 4th German Mountain Division, manned with Tyroleans, were active in this thrust. They succeeded in advancing 30 km toward Sukhumi. To attack from the Kuban region, capture the passes that led to Elbrus, and cover the "Edelweiß" flank, a vanguard detachment of 150 men commanded by Captain (Hauptmann) Heinz Groth, was formed. From the Old Karachay through the Khurzuk aul and the Ullu-kam Gorge the detachment reached the Khotyu-tau Pass, which had not been defended by the Soviet troops. Khotyu-tau gained a new name – "The Pass of General Konrad". The starting point of the operation on the Krasnodar-Pyatigorsk-Maikop line was reached on 10 August 1942. On 16 August, the battalion commanded by von Hirschfeld made a feint and reached the Kadar Gorge. On 21 August, troops from the 1st Mountain Division planted the flag of Nazi Germany on the summit of Mount Elbrus, the highest peak in both the Caucasus and Europe. On 9 September, Hitler sacked List from command of Army Group A and sent him into retirement, for perceived sluggish leadership. Hitler then took personal charge of Army Group A, a highly impractical arrangement. By 1 November 1942, the German 23rd Panzer Division had reached Alagir and the 13th Panzer Division had reached Ordzhonikidze, approximately 610 km from their starting positions, the high water mark of the Axis invasion of the Caucasus. The 13th Panzer Division was encircled by Red Army counterattacks shortly after however, but was able to break out with assistance from SS Division Wiking. These events led Ewald von Kleist to halt further offensive operations.[ On November 22nd, Hitler gave command of Army Group A to von Kleist, and Eberhard von Mackensen replaced von Kleist as commander of 1st Panzer Army." Map created / edited by: @king_tigernator@GeoPat Pictures taken by @Hawk
-
FH2 Campaign #17 - The Unyielding: Battle #2 Kalatsch
Quicksilver posted an event in Forgotten Hope 2
untilCMP FH2 Campaign #17: The Unyielding Battle #2: Kalatsch History "At dawn on 7 August, XIV and XXIV Panzer Corps shredded the Soviet front line near Kalach from the north and the south, all the while receiving immense support from Fiebig's air corps and parts of Pflugbeil's. From the northeast and southwest, tight against the Don River, XIV and XXIV Panzer Corps struck into the Kalach bridgehead. Their spearheads made contact southwest of Kalach by late afternoon, trapping the main body (eight rifle divisions) of the Soviet 62nd Army in an encirclement. Joined by LI Army Corps the Germans began systematically destroying the surrounded Soviet forces. The pocket was wiped out in four days, by 11 August. Nearly 50,000 prisoners were taken, and the Germans claimed the destruction of a thousand Soviet tanks and 750 guns, although the claims of destroyed Soviet tanks are considered a little exaggerated. These losses threw the Soviet leader Josef Stalin into a panic and compelled him to feed more reserves into the fight at Stalingrad. Air support in the battle was crucial, Fiebig's Junkers Ju 87 Stuka dive bombers mercilessly hammered the trapped Soviet troops and vehicles while Heinkel He 111 and Junkers Ju 88 medium bombers bombed the Soviet railway network and airfields with impunity, destroying 20 Soviet aircraft on the ground on 10 August alone, the technically and numerically inferior Soviet 8th Air Army achieving nothing thanks to losing its 447 replacement aircraft from 20 July to 17 August as fast as it received them. The Soviet Air Forces had poor logistical systems, a low level of crew training and abysmal standards for army-air communications and liaison. The Soviet aircraft were prematurely committed to the fight immediately upon arrival and were promptly and easily destroyed by the experienced German aviators. The disparity in effectiveness between the combatants became evident on 12 August when Fliegerkorps VIII destroyed 25 of 26 Soviet aircraft that attacked German airfields that day, suffering no losses in turn. No German losses were sustained the next day either as Fliegerkorps VIII destroyed 35 of 45 Soviet aircraft that tried to attack the German airfields." -
untilCMP FH2 Campaign #17: The Unyielding Battle #1: Brody History "The battle between Panzer Group 1 and the Soviet mechanized corps was the fiercest of the whole invasion, lasting four full days. The Soviets fought furiously, and crews of German tank and anti-tank guns found to their horror that the new Soviet T-34 tanks were almost immune to their weapons. The new KV-1 and KV-2 heavy tanks were impervious to virtually all German anti-tank weapons, but the Red Army's logistics had completely broken down due to Luftwaffe attacks. The German Kampfgeschwader bomber wings, namely KG 51, KG 54, and KG 55, contributed a series of heavy low-level attacks against Soviet ground targets. The headquarters of the Soviet 15th Mechanised Corps was destroyed, and its commander, General-Major Ignat Karpezo, was wounded. The Luftwaffe destroyed some 201 Soviet tanks in this area. The five Red Army corps were mishandled while being concentrated into large powerful groups. The German troops sought to isolate individual units and destroy them. Meanwhile, the Luftwaffe ranging over the battlefields was able to separate the supporting infantry and deny them resupply of fuel and ammunition.Ultimately due to lack of adequate planning and overall coordination, the Soviet counter-attack failed to meet at Dubno." --- --- --- ---
-
untilAxis Training For FH2 Campaign TeamSpeak Server: ts.cmp-gaming.com You will need to be on Teamspeak for both training and for the battles. If you are not on Teamspeak, you will be kicked from the server! FH2 Campaigns - What You Need To Know
-
untilAllied Training For FH2 Campaign TeamSpeak Server: ts.cmp-gaming.com You will need to be on Teamspeak for both training and for the battles. If you are not on Teamspeak, you will be kicked from the server! FH2 Campaigns - What You Need To Know
-
untilCMP FH2 Campaign #17: The Unyielding Scrimmage
-
REMINDER AND WARNING FOR PLAYING IN OUR CAMPAIGNS AND EVENTS Discussions about any real-world conflicts/wars and other political-related matters in the forums, on Discord (outside of #definitely-not-politics-or-news), in Teamspeak and in any game will not be tolerated. Anyone breaking this rule will be instantly banned from current and future FH2 campaigns along with any other events, and may also be removed from the CMP community. This group is about videogaming and inclusivity for all.
-
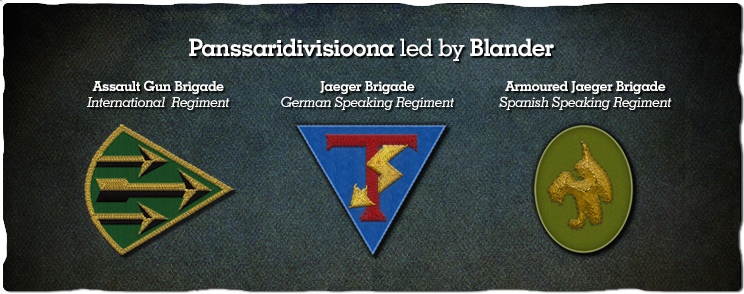
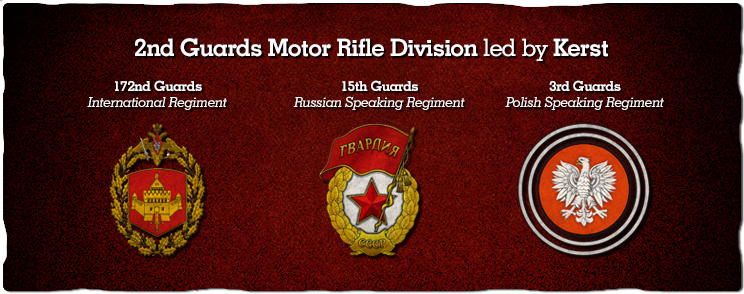
The Eastern Front. One of the bloodiest and costliest of the Second World War. More than 80% of all combat took place on the Eastern Front, and now you can test your mettle on these historic battlegrounds. In this campaign you will see action in a wide variety of engagements, from armoured combat in the Battle of Brody, to the Operation Mars offensive, and the tactical engagements at Lenino on the Dnieper River. As the campaign forges its way into the Continuation War between Soviet and Finnish forces, explore rarely played maps in the Karelian Isthmus and the Nordic territories including Ihantala, Nietjärvi and the brutal fighting at Ilomantsi—the last major Soviet attack. Fight through harsh terrain, with swamps, lakes and small villages that will test your infantry skills and tactics. Hide in immense forests to hunt down incoming tanks, and rise to the skies to achieve air superiority. After months of mapping and development we are proud to offer another great FH2 campaign. Be part of the Soviet 2nd Guards Motor Rifle Division, or fight as the Finnish Panssaridivisioona in 10 intense battles on great custom maps, a few of them unknown and being exclusively made and edited for this campaign. Get your gaming gear ready for a community-led co-operative campaign on maps including Tali, Sinimaed, Tornio, Operation Little Saturn and other beautifully designed maps. What are you waiting for? Click on the "Join Here" picture on the bottom, choose your regiment, and be a part of this amazing campaign! In This FH2 Campaign You Will Experience: FH2 non-stop action to its limits, close rounds, sneaky/massive attacks, efficient organized defenses and the exhilaration of being victorious. 10 battles spanning the Eastern Front with custom content and maps you won't see anywhere else. Train and prepare yourself for every battle with your regiment on our training server. Fight in battles with up to 100 players. Earn promotions and medals for your achievements. Communicate directly with your squad using Teamspeak and apply well planned strategy and tactics not seen on any public servers. Form new friendships with like-minded people from all over the world. Taking part is completely free and everybody is welcome!

-
untilCMP FH2 Mini-Campaign: Rising Tides, Soaring Skies Battle #6
-
untilCMP FH2 Mini-Campaign: Rising Tides, Soaring Skies Battle #5
-
untilCMP FH2 Mini-Campaign: Rising Tides, Soaring Skies Battle #4
-
untilCMP FH2 Mini-Campaign: Rising Tides, Soaring Skies Battle #3
-
untilCMP FH2 Mini-Campaign: Rising Tides, Soaring Skies Battle #2
-
untilCMP FH2 Mini-Campaign: Rising Tides, Soaring Skies Battle #1
-
How To Join A Campaign Step 1: Sign in on the site. If you do not have an account yet, REGISTER to create an account here https://cmp-gaming.com/register/ Step 2: After successfully registering and logged in, click on CAMPAIGNS from the top menu, or go to https://cmp-gaming.com/campaigns/ Step 3: Choose the current campaign and decide if you want to join Allied or Axis Step 4: Choose a regiment to join. You will want to join an English Speaking International Regiment if you speak English, but if you speak Polish, Spanish, German or Russian then you are welcome to join those dedicated regiments. The information is below each regiment name Step 5: Once you have signed up for a regiment, you'll be granted access to the Campaign section of the forums. Find your regiment and post an introduction in your regiment's forum area and say hello! Then make sure to read the section titled "FH2 Campaigns - What You Need To Know". This has a lot of very important information in it that you'll need to know. Step 6: If your Discord account and CMP forums account are linked (use https://cmp-gaming.com/settings/login/?service=11 to do so), then you'll get access to your team's Discord channels (Allied or Axis) where you can speak with your fellow team mates about the campaign and upcoming battles. Importantly it is recommended to attend trainings for battles which take place on a Thursdays at 18:00UTC in Summer and 19:00UTC in Winter. You can only access battles by getting the password in Teamspeak from your Commanding Officer on a Friday night.
-
- 2
-
-
FH2 Mini-Campaign: Rising Tides, Soaring Skies Public Event The public event will allow us to test the maps again for bugs and issues. There is quite a lot of customisation involved with the maps and this requires a little more testing before switching to campaign play. Automatic Download Use the FH2 Launcher, and if not already checked, tick the box for "Check for CMP Gaming Tournament Map Updates on launch" Alternative Manual File Download Map Pack Download - Download Files THE CAMPAIGN MINIMOD IS NOW PART OF THE MAIN FH2 FILES IF YOU HAVE PROBLEMS. START FH2 AND GO TO "OPTIONS", THEN "UPDATE / REPAIR" AND CLICK ON "REPAIR" The campaign files will come in a zipped file. Just copy these files into Program Files (x86)\EA GAMES\Battlefield 2\mods\ folder. Choose 'Extract Here' and let it install the files. Let it overwrite any files if you have older campaign files installed. If you use the standalone version of the game, then copy the files into Program Files (x86)\FH2\mods instead and then extract. Details: Date: Friday February 7th and Saturday February 8th Server: CMP - FH2 Battle Server IP: fh2.cmp-gaming.com : 16567 Teamspeak: CMP - Teamspeak Server: ts.cmp-gaming.com Requirements To Play: Latest version of Forgotten Hope 2 Latest Campaign Pack: Use the above updater or manually download the files Event Admins: Papillon kummitus Hawk RAnDOOm Erwin GeoPat pozzo
-
untilCMP FH2 Mini-Campaign: Rising Tides, Soaring Skies Scrimmage
-
untilCMP FH2 Mini-Campaign: Rising Tides, Soaring Skies Public Event
-
There will be a public event open to everyone tomorrow, Saturday 25th January at 19:00UTC (usual campaign battle time). Bttles for this campaign will take place on Friday's, kicking off with a scrim on Friday 31st January at 19:00UTC.
-
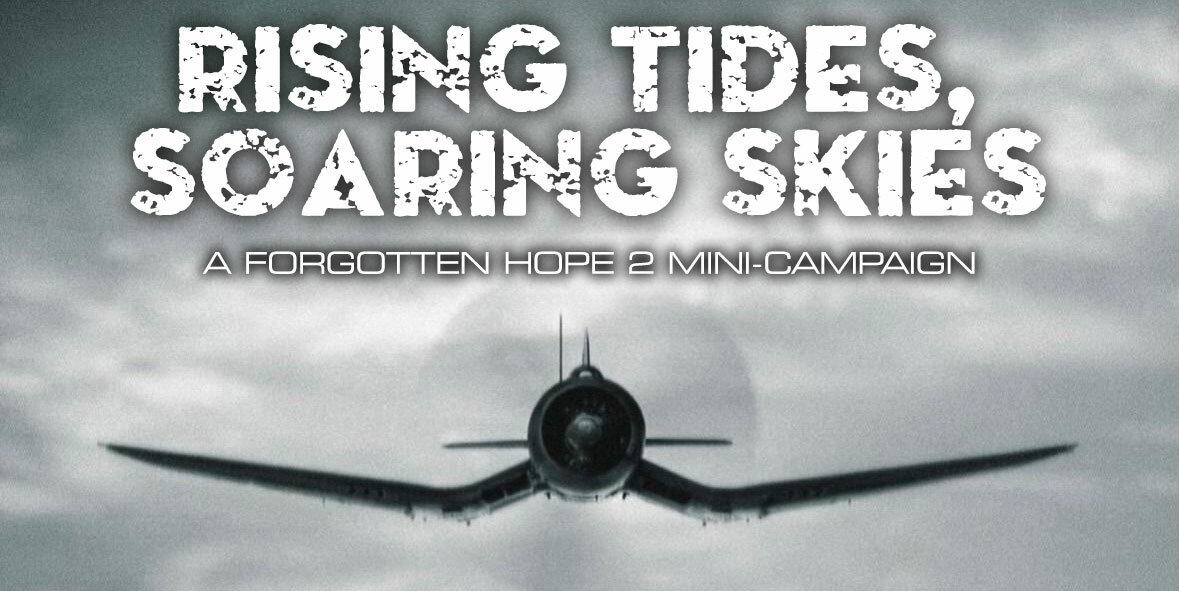
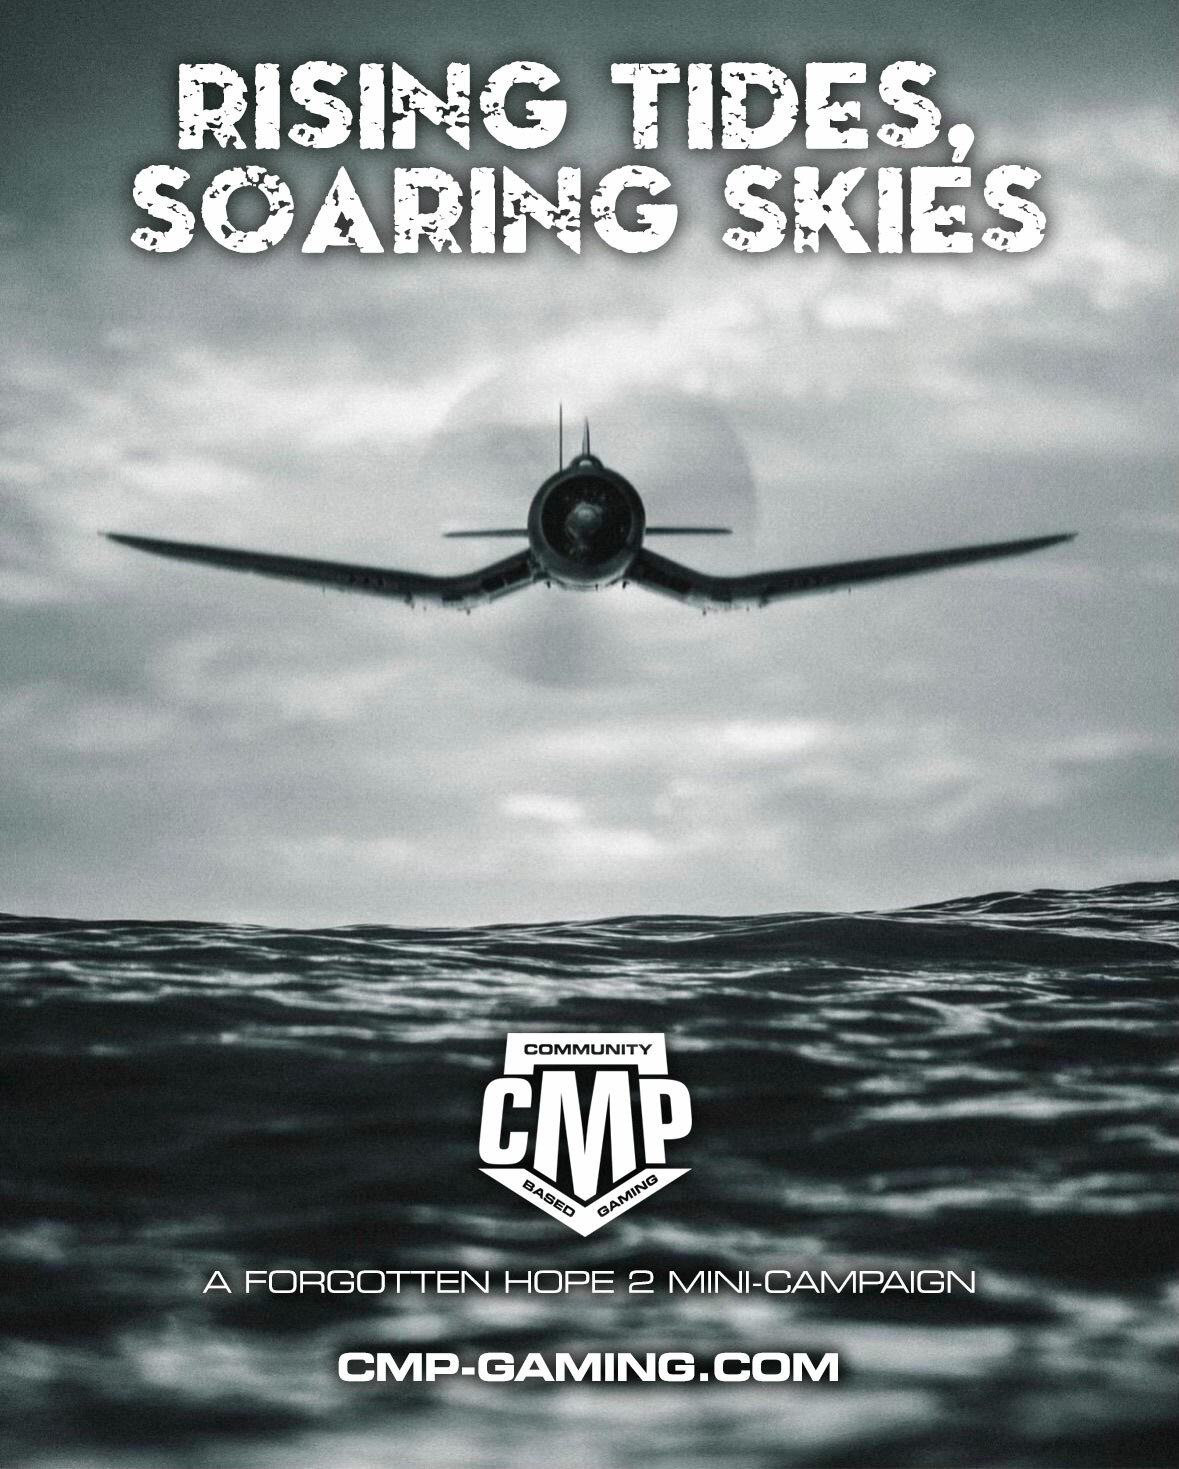
In this unique mini-campaign, engage in a series of gripping iconic battles from the sun-baked shores of Malta, to the skies over Britain, and the vast waters of the Pacific ocean, where each engagement will test your mettle. With a blend of air, ground and sea combat, players must adapt their strategies to defend or destroy critical objectives. Coordinate daring air raids to cripple enemy supply lines, launch deadly sea bombardments to destroy the enemy fleet, and engage in fierce dogfights high above the battlefield. Will you rise to the challenge and help bring victory to your team? After months of mapping and development we are proud to offer another great FH2 campaign, where each week will bring two battles, consisting of four rounds per battle. Be part of the 332nd Fighter Group, or fight as the 13th Sentai Fighter Regiment in 10 intense battles on great custom maps, exclusively edited for this campaign. Sign up and join the fight, as you play Battle of Britain, Midway, Surigao Strait, Malta, Bombing the Reich, Operation Hailstone and other beautifully designed maps. In This Mini FH2 Campaign You Will Experience: A unique set up for FH2 with non-stop action in the air, on the ground and at sea as you take part in organized air patrols, dive-bomb attacks, and sea battles to defend or destroy your objectives. 10 battles in theaters from around the world, with custom content and maps you won't see anywhere else. Fight in battles with up to 100 players. Communicate directly with your squad using Teamspeak and apply well planned strategy and tactics not seen on any public servers. Form new friendships with like-minded people from all over the world. Taking part is completely free and everybody is welcome! CLICK BELOW TO JOIN