
Quicksilver
-
Posts
2,890 -
Joined
-
Days Won
220
Quicksilver's Achievements
")
-

-

Campaign #19: Mare Nostrum - Scoreboard
Quicksilver posted a topic in Campaign #19: Scores And Stats
TT = Total Tickets Remaining | T RVP = Round Bonus Modifier | T TVP = Total Tickets Bonus Modifier RVP = Round Victory Points | TVP = Total Victory Points -
untilAxis Training For FH2 Campaign TeamSpeak Server: ts.cmp-gaming.com You will need to be on Teamspeak for both training and for the battles. If you are not on Teamspeak, you will be kicked from the server! FH2 Campaigns - What You Need To Know
-
untilAllied Training For FH2 Campaign TeamSpeak Server: ts.cmp-gaming.com You will need to be on Teamspeak for both training and for the battles. If you are not on Teamspeak, you will be kicked from the server! FH2 Campaigns - What You Need To Know
-
From all of the Committee, Admins and Moderators we want to wish all of the CMP community a wonderful holiday and hopes for a fantastic New Year. With our final Forgotten Hope 2 battle of 2025 complete and the 18th campaign now over, we now look forward to the holidays and heading into the start of a new year. In this moment, it is a perfect time to celebrate the small things that keep CMP strong: a friendly message, or witty banter on Discord or TeamSpeak, someone stepping up to help another member of the community with technical support, real-life meet-ups over food and laughter, and the countless hours spent together in the various games we play, including our signature FH2 campaigns. Those everyday gestures are what make this community a home. In April 2026 CMP will turn 9 — nine years of friendships, shared victories (and defeats), and a welcoming place for players from all walks of life. We've grown to over 3,000 members, our events stay busy, and our spirit of support and camaraderie remains our greatest achievement. Thanks to everyone who helps to run our events, moderates our platforms, organizes games and meet-ups, or simply shows up to play and be kind. As we head into the new year, let’s keep that warmth and teamwork alive. In 2025 we took our two FH2 campaigns from the vast landscapes of the Eastern Front, to the claustrophobic jungles of the Pacific, offering a mix of our previous quality custom maps, and a number of re-imagined and new maps never played before in a campaign. These rarely played battlefronts have proved popular with our community, and we've consistently seen a full server on a Friday night for our battles - not only with gamers from our existing playerbase, but also from a new generation of gamers who have discovered the game and are looking for the fun of being involved in organised events. There is so much that goes on in the background to keep the community, campaigns and events running and we must recognise the core group of CMP members who tirelessly give their all for this wonderful community of players. They work long hours, using their free time to bring our community not only two custom FH2 campaigns each year, but also to make sure that CMP can thrive going forward, and they deserve a heartfelt thank you from us all. Without the dedication from those listed below, there would be no CMP community, and no FH2 campaigns for us all to enjoy: Website, Game Servers, Discord, Teamspeak and All Things Technical kummitus Mapping and Mapping Support Papillon Geopat Pr0z4c Watchtower SgtAlex Blander Harmonikater king_tigernator Stubbfan CptBocquier Vlasov Forums, Graphics, Social Media and Community Support RAnDOOm Sir_Kowskoskey Hawk RayderPSG Erwin Map Balancing and Feedback RayderPSG Hawk McCloskey pozzo Ayrton There are undoubtedly many others in the community that aren't on this list and we thank them all for their help. Donations A massive thank you must also go out to those who have donated throughout 2025 and continue to donate monthly, or offer one-off amounts to keep the forums, Teamspeak, Discord channels and game server up and running. With the help of the CMP members listed below, we managed € 691,25 Raised! Thank you to: Incognito Spindrifter49 GeoPat The_Green_Bunny Strauchdieb AL-SAHAD eXHaLe WasntmeNL Strauchdieb Pepinio Dani3l WOLFXL ZZZkam1kadzeZZZ 0utlaw AL-SAHAD Johonas RayderPSG Without the generous donations from this small number of community members out of the 3,000+ registered on the forums (just 0.4% of the community!), we would not be able to continue with the custom FH2 campaigns, and the expansion of the CMP community to look at supporting more games and events during 2026. If you donated to CMP, but are not on the list above, PM @Quicksilver and receive your 2025 Donators Medal! If you'd like to donate, you can see how, by going here. CMP 2025 Recap Over the past 12 months we have: Hosted both our Eastern Front and Pacific FH2 campaigns. Axis took victory in both of the campaigns this year. For 2026 we will again mix up some of the squads to help try and keep the playing field even in 2026! We want to thank the HQ's, Officers and Squad Leaders for taking the time to lead and help players in these campaigns, attending trainings, meetings and battles. Without you, these campaigns would not have been possible! Also, to the players who may be old veterans, or brand new to FH2 and playing in CMP campaigns - Thank You! Yet again we've seen the server nearing max capacity during the campaigns. We hope you will keep coming back for more in the future. Continued to organise community games such as: CS2 Hell Let Loose Squad 44 Star Citizen Valheim Come and join them if you play these games! Christmas Holiday Break Now that the 18th FH2 campaign is over, those involved in the long process of planning the campaigns will be taking a well deserved break over Christmas and the New Year. However, we have already started making plans for an exciting Campaign #19! We expect the next FH2 campaign to start sometime in March 2026. We'd like to get feedback on the community on what you'd like to see in the next FH2 campaign! We are switching back to more early war battles and have to decide: For the next campaign do we focus on North Africa only, Greece and North Africa, or Greece, North Africa and Italy? Vote in the poll attached to this message to have your say! The next campaign will again consist of 12 battles. We can either play 12 battles in North Africa, or a number of battles in Greece before moving to play the rest in North Africa, or a mix of Greece, North Africa and Italy maps. The poll closes on the 15th January 2026, so make sure to vote before then. We also welcome all new players to join us in upcoming FH2 campaigns, and if you have played in at least one of our campaigns and would like to volunteer for a role as a Squad Leader, Regimental Commanding Officer or even as HQ then please let @Quicksilver or @RayderPSG know by Private Message in the forums and we'll see if we can find a place for you. CMP In 2026 We are looking to increase support for existing gaming groups and the number of games we support over the next year: Continuing our FH2 campaigns; As Star Citizen increases in scope and activities we will be hosting more events including our entry into the Daymar Rally! Come and join us at ANTCORP! Continue to host our own world server for Valheim; To continue arranging scrims with other communities and clans playing Squad 44; Supporting the expanding community of Hell Let Loose players in the CMP community and arranging events with other communities; Arranging events to play Squad with those who play within CMP. Are there other multiplayer and co-operative games you are interested in that you think the CMP community would enjoy too? If you do, then please post here and also vote in our poll! Donating To CMP In 2025 our donators helped us to exceed our target goal for the year. Without donations to help cover the costs for servers and software we cannot continue to create and host FH2 campaigns, support new games when possible; as well as run the forums, Teamspeak and Discord channels. As we begin a new year we will again need members to step up and donate whatever they can afford to help cover the monthly community costs - even a few Euros will help. You can use the button below to make a single or monthly donation to CMP, or use the buttons on the side bar of the Home page.
-
FH2 Campaign #18 - The Rising Sun: Battle #12 Iwo Jima
Quicksilver posted an event in Forgotten Hope 2
untilCMP FH2 Campaign #18: The Rising Sun Battle #12: Iwo Jima History "The first wave, the 4th Marine Division on the right and the 5th on the left, moved virtually unmolested toward the shore. At 8:59 am, after 30 minutes of steaming, the first amtracs hit the beach. With no coral barrier reef or killer neap tide to worry about—as at Tarawa—some 8,000 troops stormed ashore on their designated beaches right at H-hour. Light enemy fire gave some of the Marines fleeting hopes of a cakewalk, but they soon found themselves battling two unexpected physical obstacles—black volcanic ash, into which men sank up to a foot or more, and a steep terrace 15 feet high in some places, which only a few amtracs managed to climb. A volcanic island, all of Iwo Jima’s beaches were extremely steep; with deep water so close to shore, the surf zone was narrow but violent. The soft, black sand immobilized almost all the armored mortar and rocket-firing vehicles that accompanied the Marines as they came ashore and bellied up some of the amtracs. "In short order, a succession of towering waves hit the stalled vehicles before they could completely unload, filling their sterns with water and sand and broaching them broadside. The beach soon resembled a salvage yard. Once the beaches were choked with landing craft and the steep terraces clogged with infantry, Kuribayashi fired signal flares, after which the defenders opened up with heavy ordnance—hidden mortars and artillery batteries—in a rolling barrage of their own. Undeterred, fresh waves of Marines arrived every five minutes. Despite the usual confusion, the first combat patrols pushed 150 yards inland, then 300. Enemy troops opened up, firing from rabbit holes, bunkers, and pillboxes, but slowly and desperately the Marines continued to push forward in small groups rather than as a united force. Each Japanese bunker and rabbit hole meant a fight to the death, with each enemy position supported by many others. " "The defenders would disappear down one hole and pop up at another, often behind rather than in front of the advancing Marines. The invaders struggled on, pouring bullets and grenades into enemy positions. Navy fire-support ships moved in closer, taking out some of the nearest Japanese firing positions with deadly accuracy. Facing 4th Division’s lines were 10 reinforced concrete blockhouses, seven covered artillery positions, and 80 pillboxes. Hidden land mines also took a heavy toll on the advancing Marines. Among those killed in the first day of fighting was the most famous NCO of the Pacific War—Gunnery Sergeant John Basilone. After being awarded the Medal of Honor for his remarkable service during the Battle of Guadalcanal, “Manila John” Basilone had been sent on a highly publicized war bond drive back in the States. Despite being newly married, Basilone requested that he be allowed to return to active duty with the 1st Battalion, 27th Marines. He was killed by machine-gun fire on Red Beach 1 and posthumously awarded a Navy Cross." -
FH2 Campaign #18 - The Rising Sun: Battle #11 Peleliu
Quicksilver posted an event in Forgotten Hope 2
untilCMP FH2 Campaign #18: The Rising Sun Battle #11: Peleliu With The Old Breed Peleliu 1944 (click on the image to enlarge) The 1st Mar. Div. had fought on Guadalcanal, America’s first amphibious landing in World War II, from August to December 1942. The “Old Breed” then secured a lodgment on Cape Gloucester, New Britain, fighting there from December 1943 to February 1944. These men were in less than ideal condition having endured one of the wettest campaigns of the war. Most were suffering from weight loss and fungus infections, but would recover by the time of the Peleliu attack. The Marines on Peleliu were seasoned veternas of the Pacific Campaign who had grown to perfect their craft of rooting out the Japanese from island after stoney island. In September of 1944, the Marines are outfitted with their full compliment of M1 Garands, M1 Carbines and the latest iteration of the M1A1 Thompson SMG. The Battle of Peleliu or Operation Stalemate II was fought between September 15th to November 27th 1944. U.S. Marines of the First Marine Division, and later soldiers of the U.S. Army's 81st Infantry Division, fought to capture an airstrip on the small coral island part of a larger offensive campaign known as Operation Forager. The Commander of 1st Marine Division predicted the island would be secured within 4 days, however, Japan had developed new island defense tactics, well-crafted fortifications and caves that allowed stiff resistance, extending the battle through more than two months. -
untilCMP FH2 Campaign #18: The Rising Sun Battle #10: Guam History "As the fighting continued, the remainder of the 77th Infantry Division landed on July 23-24. Lacking sufficient Landing Vehicles Tracked (LVT), much of the division was forced to disembark on the reef offshore and wade to the beach. The next day, Shepherd's troops succeeded in cutting the base of the Orote Peninsula. That night, the Japanese mounted strong counterattacks against both beachheads. These were repelled with the loss of around 3,500 men. With the failure of these efforts, Takashina began retreating from the Fonte Hill area near the northern beachhead. In the process, he was killed in action on July 28 and succeeded by Lieutenant General Hideyoshi Obata. That same day, Geiger was able to unite the two beachheads and a day later secured the Orote Peninsula. Pressing their attacks, American forces compelled Obata to abandon the southern part of the island in as Japanese supplies began to dwindle. Withdrawing north, the Japanese commander intended to concentrate his men in the island's northern and central mountains. After reconnaissance confirmed the enemy's departure from southern Guam, Geiger turned his corps north with the 3rd Marine Division on the left and the 77th Infantry Division on the right. Liberating the capital at Agana on July 31, American troops captured the airfield at Tiyan a day later. Driving north, Geiger shattered the Japanese lines near Mount Barrigada on August 2-4. Pushing the increasingly broken enemy north, US forces launched their final drive on August 7. After three days of fighting, organized Japanese resistance effectively ended. "
-
FH2 Campaign #18 - The Rising Sun: Battle #9 Wakde Island
Quicksilver posted an event in Forgotten Hope 2
untilCMP FH2 Campaign #18: The Rising Sun Battle #9: Wakde Island History "The first US troops landed on the Island at 9:10 on the 18th, coming ashore from their LCVPs on the south western side of the island near the jetty; they were followed at five minute intervals by the other five waves. Shortly after landing, the U.S. troops came under heavy fire from concealed positions. The fire, however, was predominantly aimed at the LCI gunboats and ultimately the Americans reached the beach with only light casualties. By 9:25, the invasion force was ashore with two tanks (one of the others had been lost at sea, while the other had damaged during loading) which the Americans used to secure the beachhead, despite heavy fire from Japanese defenders which killed one of the company commanders. Close air support was provided by a squadron of A-20 attack aircraft, under the direction of a controller in a B-25. The American companies then split up. Companies B and F took the tanks and headed west along the coast whilst Company A were sent south-west to clear out machine gun nests. Company C was then sent north towards the airfield where they endured heavy fighting coming up against well defended Japanese positions. Even so, the advance north went well for the Allies and by noon they reached the airfield. By 13:30, the Americans reached the northern part of the airfield but failed to take the eastern side where the majority of the remaining Japanese forces were located. Despite the delay in securing the island, throughout the afternoon stores and construction equipment were unloaded at the landing beach so that work could begin on the airfield. Meanwhile, fighting continued throughout the day until the attackers dug-in for the evening at 18:00. Throughout the night, a small group of Japanese attacked the U.S. battalion's command post, but this was eventually repelled by elements of Company D after a firefight that resulted in 12 Japanese being killed and three Americans wounded. The following day, the U.S. attack continued at 9:15. Eventually, the rest of the airfield was captured despite strong resistance from well entrenched Japanese defenders. Following the capture of the airfield, the surviving Japanese made their way to coral caves on the coast, delaying the Americans for several hours before finally being overcome. The third day of the battle consisted mainly of mopping up operations by American forces who cleared up the last pockets of Japanese resistance in north-eastern corner of the island. The Japanese undertook several suicidal "banzai" charges over the course of the day but the U.S. troops were able to overcome the remaining Japanese resistance by nightfall. Airfield construction troops from the 836th Engineer Aviation Battalion arrived on 18 May, even while the fighting continued. The following day, they began construction work to repair and extend the airfield while fighting off attacking Japanese troops. The same day, the Kumamba Islands, to the northeast, were also occupied by Allied troops to install search radars to offer early warning to the base at Wakde. After a three-day battle, the island was declared captured on 20 May. Several Japanese snipers still remained on the island; they were eventually cleared out by Company L, which had been detached from the 3rd Battalion, 163rd Infantry to assist with mopping up operations between 22 and 26 May.The capture of Wakde cost the Americans 40 killed, and 107 wounded, while the Japanese lost 759 killed and 4 captured." -
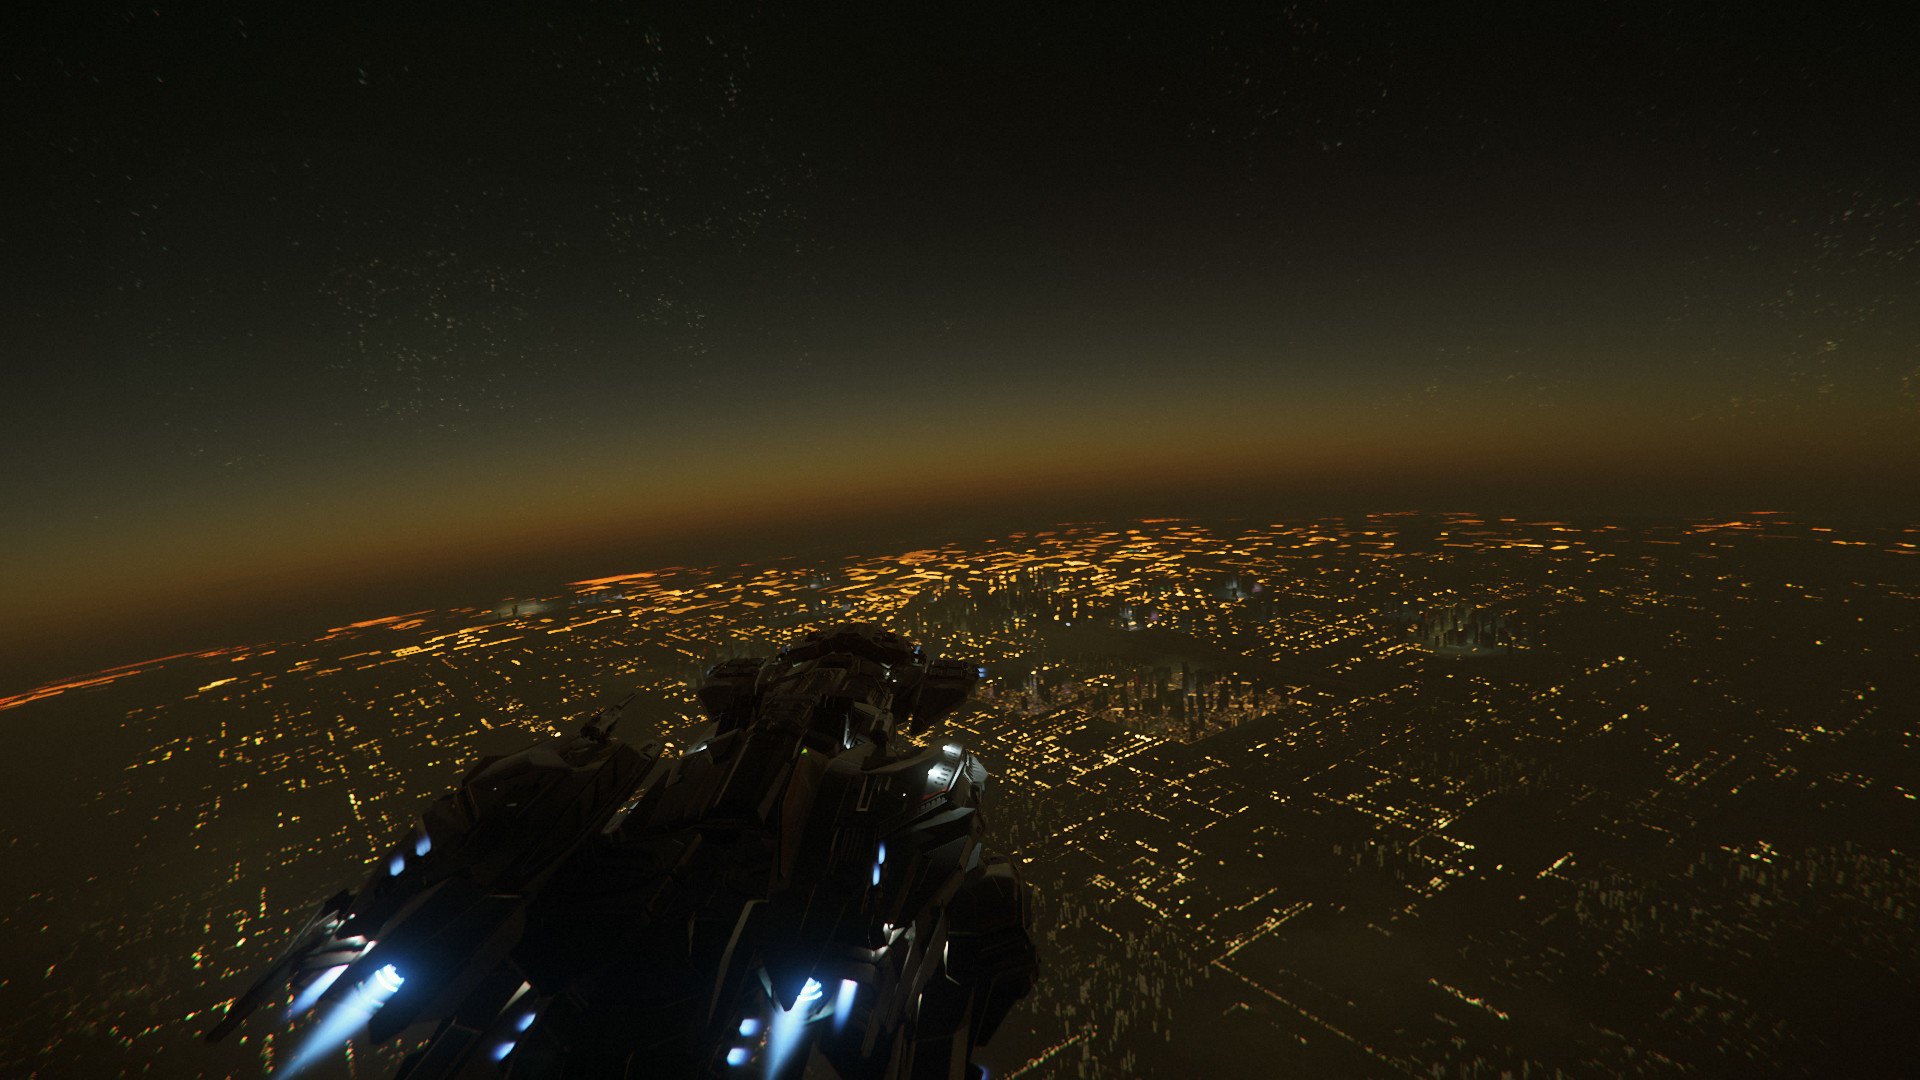
untilDaymar Rally - Practice Practice for the 2955 Daymar Rally.
-
untilDaymar Rally - Race Day Saturday, Janury 24th - January 25th, 2025 4:00PM - 04:00AM UTC Time to race!
-
TT = Total Tickets Remaining | T RVP = Round Bonus Modifier | T TVP = Total Tickets Bonus Modifier RVP = Round Victory Points | TVP = Total Victory Points
-
- 1
-

-
untilCMP FH2 Campaign #18: The Rising Sun Battle #2: Henderson Airfield History “Colonel, there’s about 3,000 Japs between you and me.” Sergeant Ralph Briggs telephoned the command post of the 1st Battalion, 7th Marine Regiment at about 9:30 on the night of October 24, 1942, to report what he had just seen. Allied forces were in the thick of the Battle for Henderson Field. The telephone was picked up by Lt. Col. Lewis B. “Chesty” Puller, the battalion commander. Sergeant Briggs and 46 other Marines had been sent 3,000 yards in front of the American lines to warn of any movement by enemy troops. Colonel Puller asked the sergeant if he was certain that the Japanese were on the move. “Positive. They’ve been all around us, singing and smoking cigarettes, heading your way.” The Japanese had been trying to retake Guadalcanal’s airfield, which the Marines had named Henderson Field, ever since the Marines had captured the half-finished runway on August 7. The airstrip was named in honor of a Marine flier, Lofton R. Henderson, who had been killed at the Battle of Midway. During the past 21/2 months, Japanese warships had bombarded Marine positions, and reinforcements had attacked the dug-in Marines throughout August, September, and October. The Marines always managed to hold off the Japanese attacks—at the Battle of the Tenaru, at the Battle of Edson’s Ridge, and in several other vicious encounters along the Matanikau River, which formed a natural defensive barrier protecting the western approaches to the airfield. But the Japanese refused to be deterred and kept sending reinforcements by way of the nightly runs by Japanese destroyers, which the Marines nicknamed the Tokyo Express. Another convoy of reinforcements had come ashore on October 15. Everybody knew that it would just be a matter of time before the enemy launched yet another attack against the Marines defending Henderson Field."
-
untilAllied Training For FH2 Campaign TeamSpeak Server: ts.cmp-gaming.com You will need to be on Teamspeak for both training and for the battles. If you are not on Teamspeak, you will be kicked from the server! FH2 Campaigns - What You Need To Know