

Event created by Quicksilver
![]()
CMP FH2 Campaign #14: Their Finest Hour
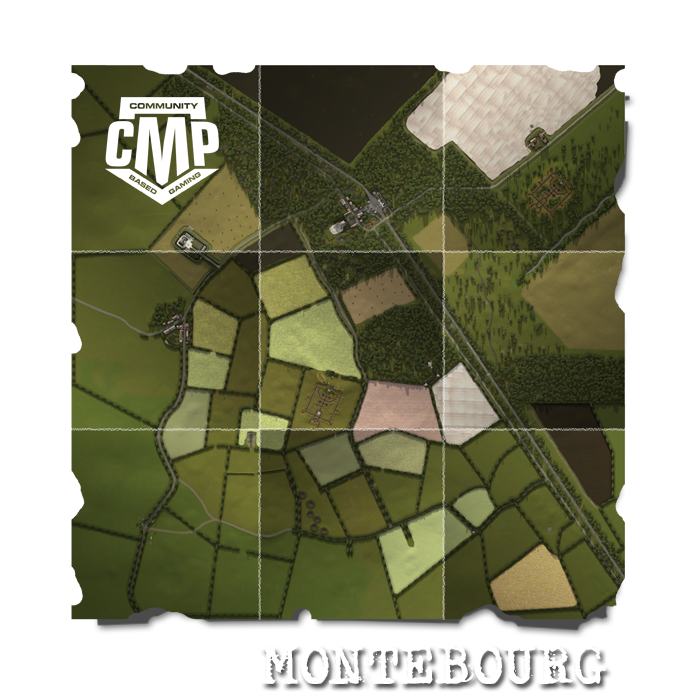
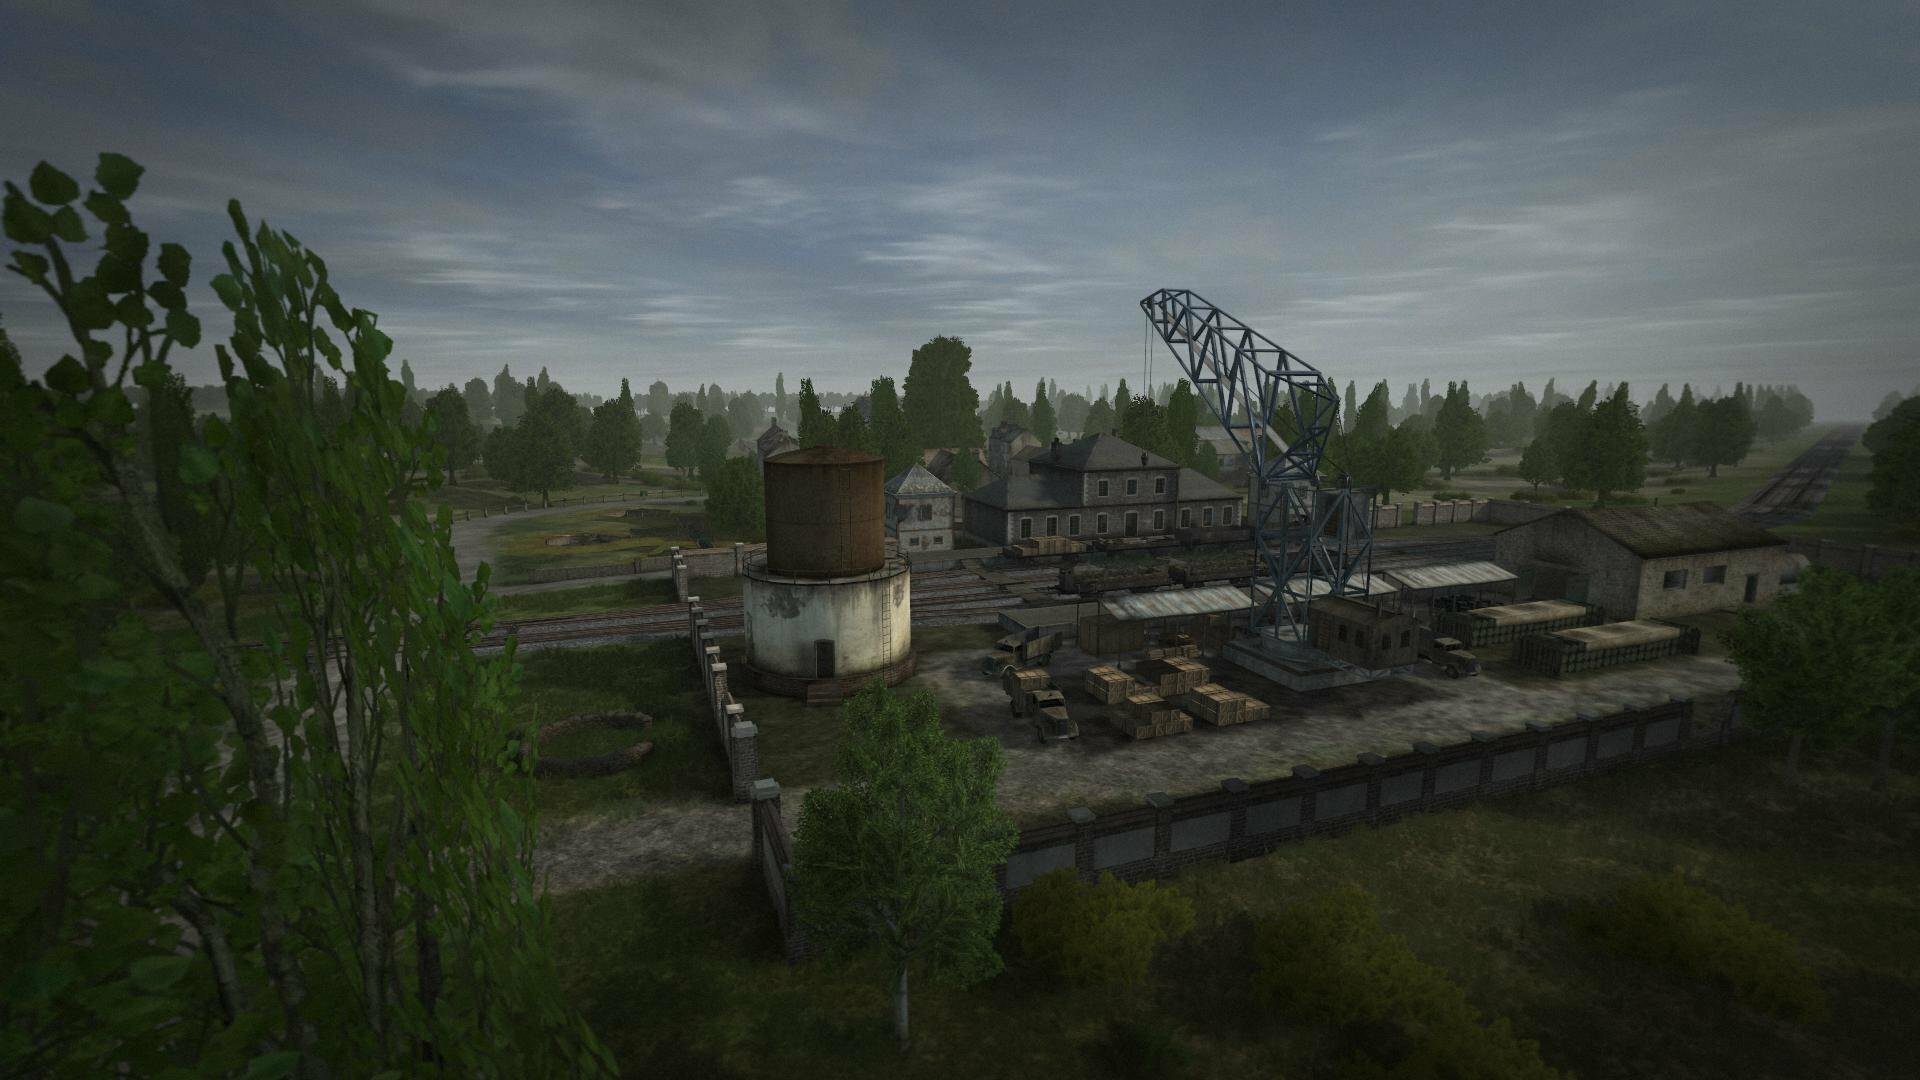
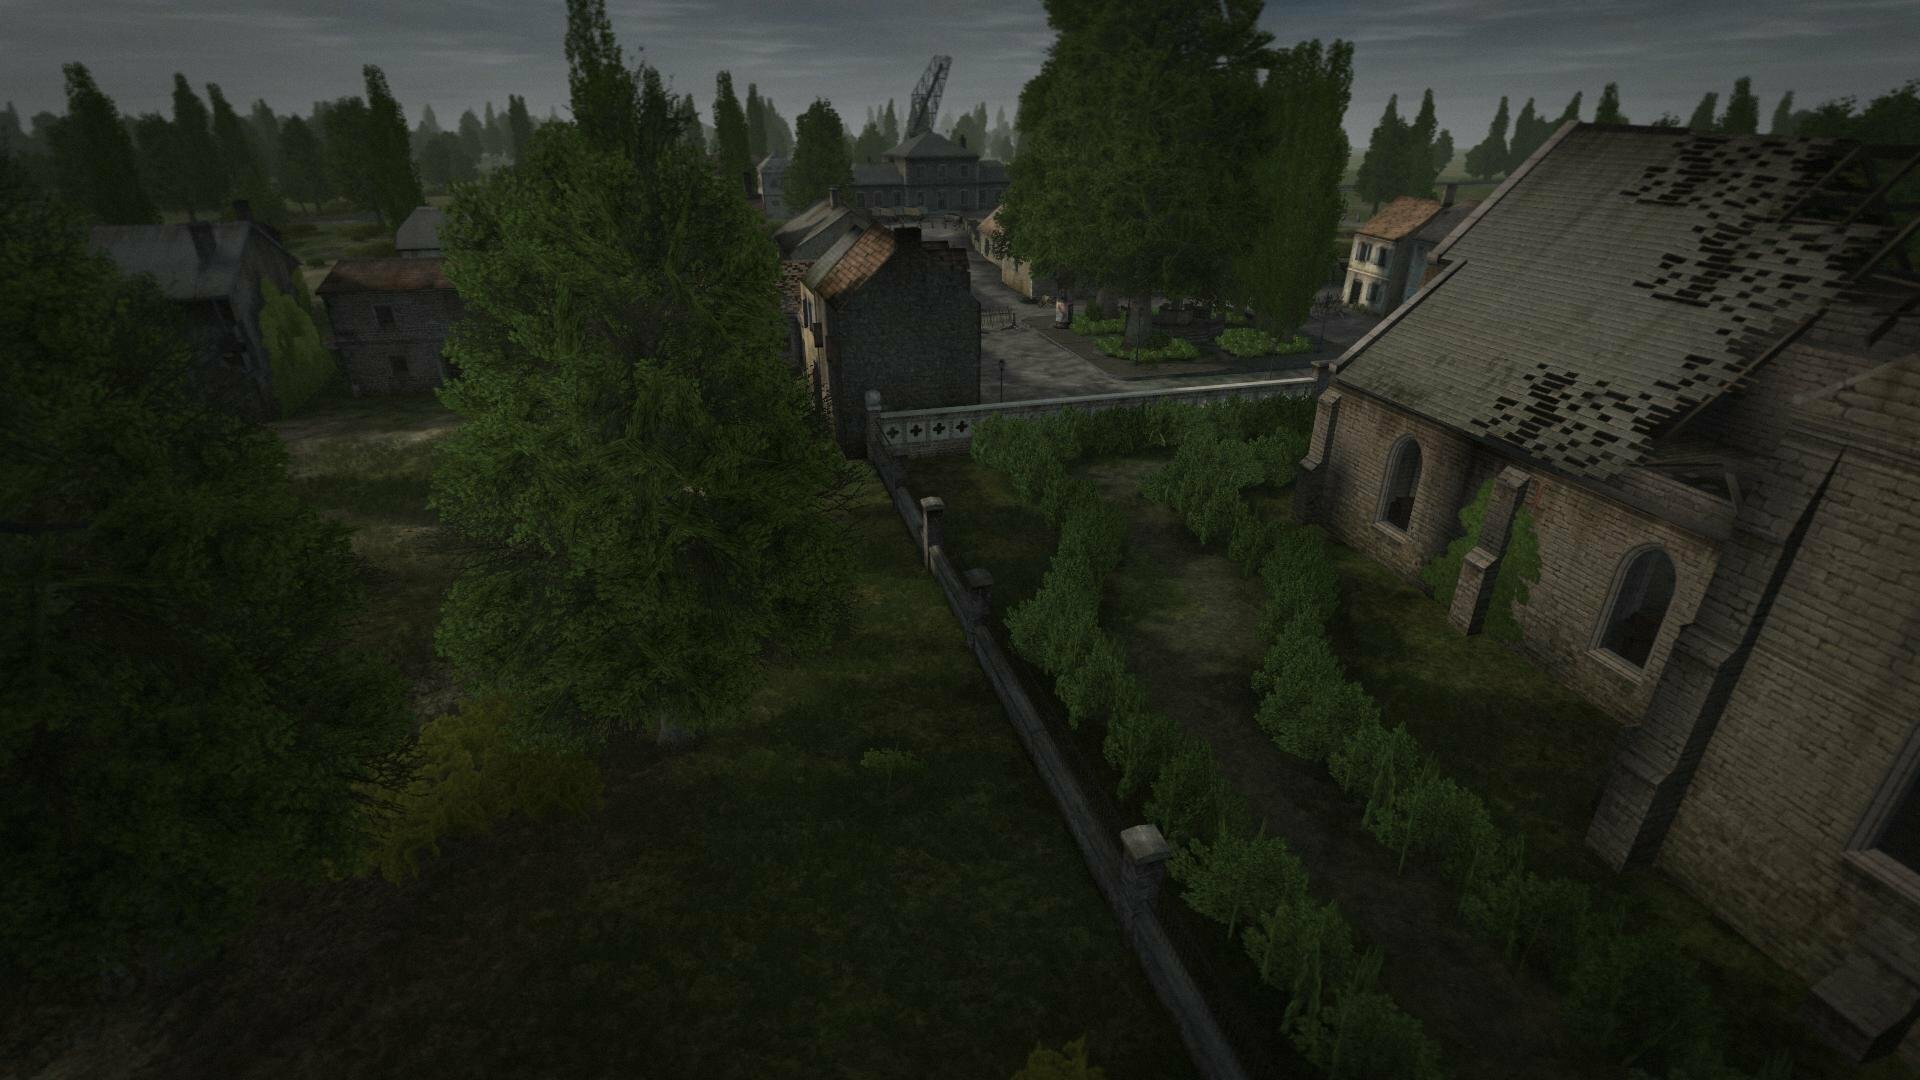
Battle #9: Montebourg Station

History
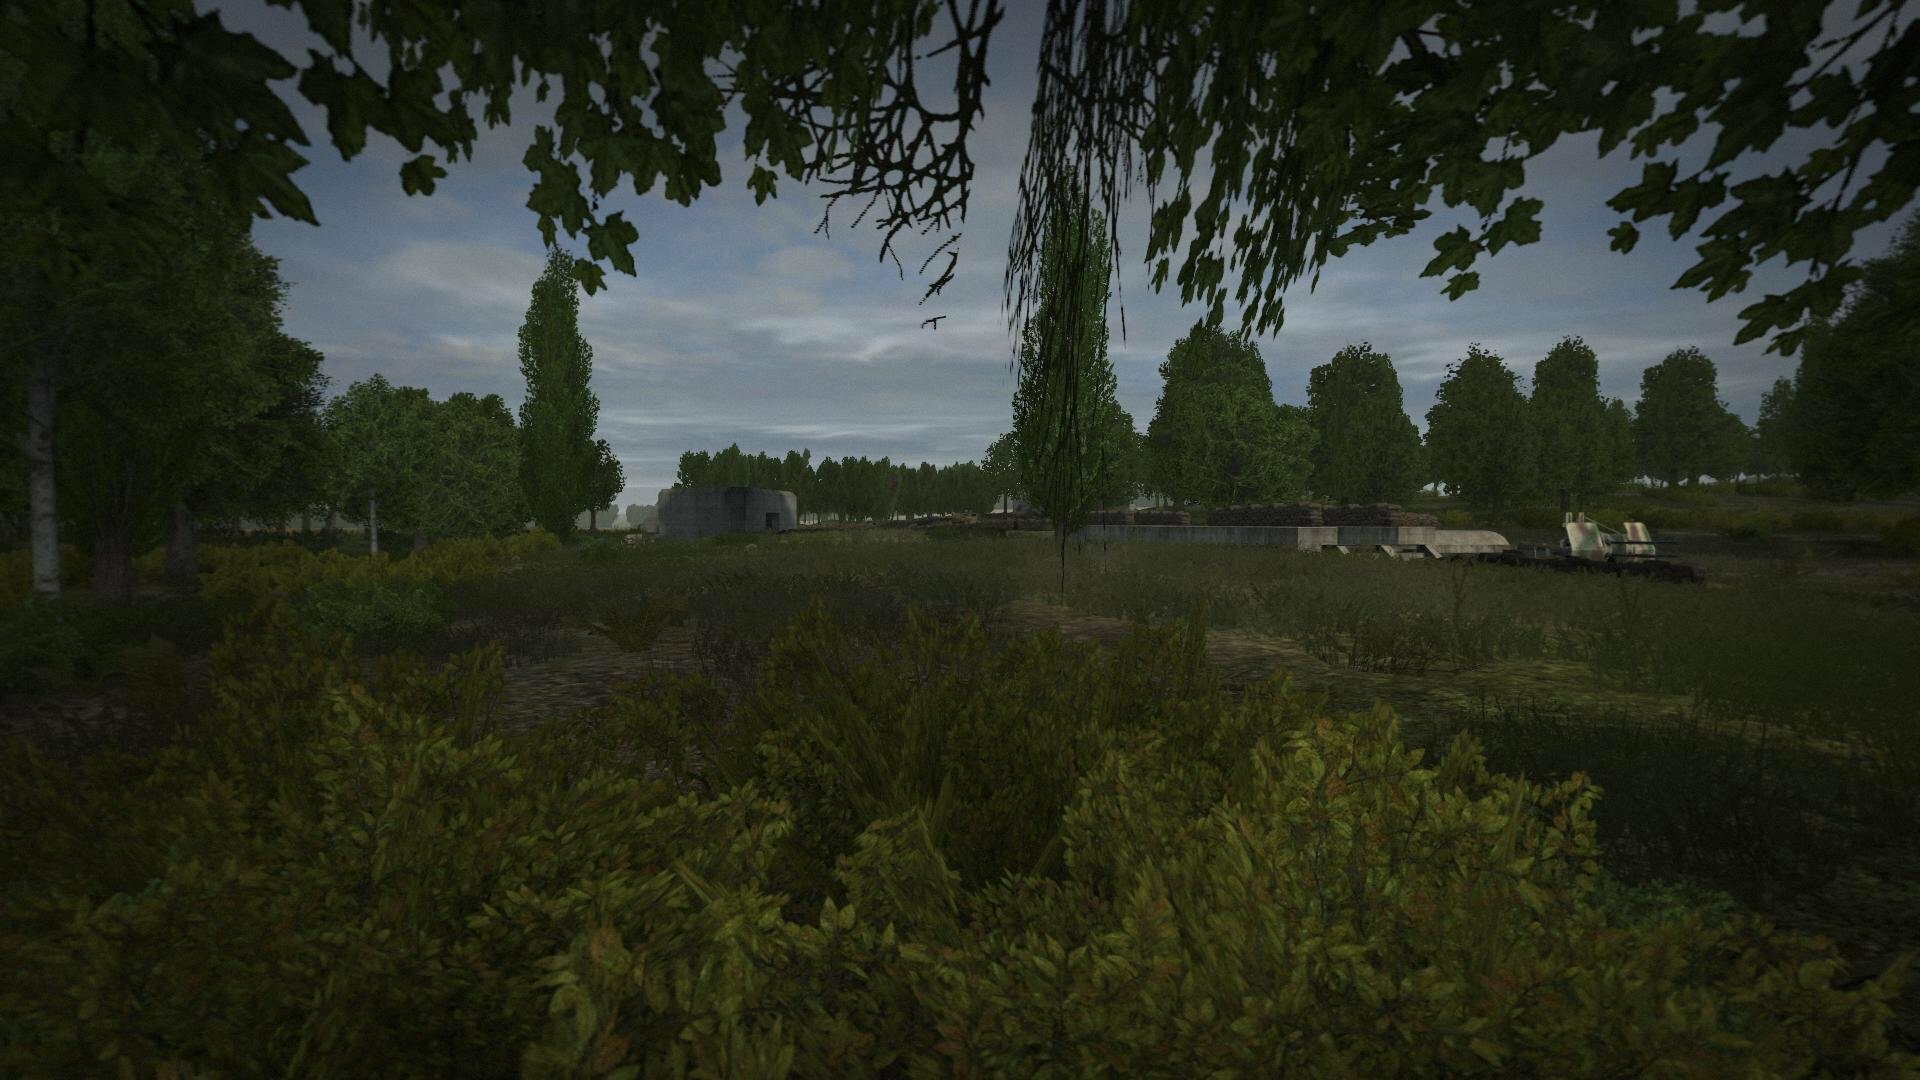
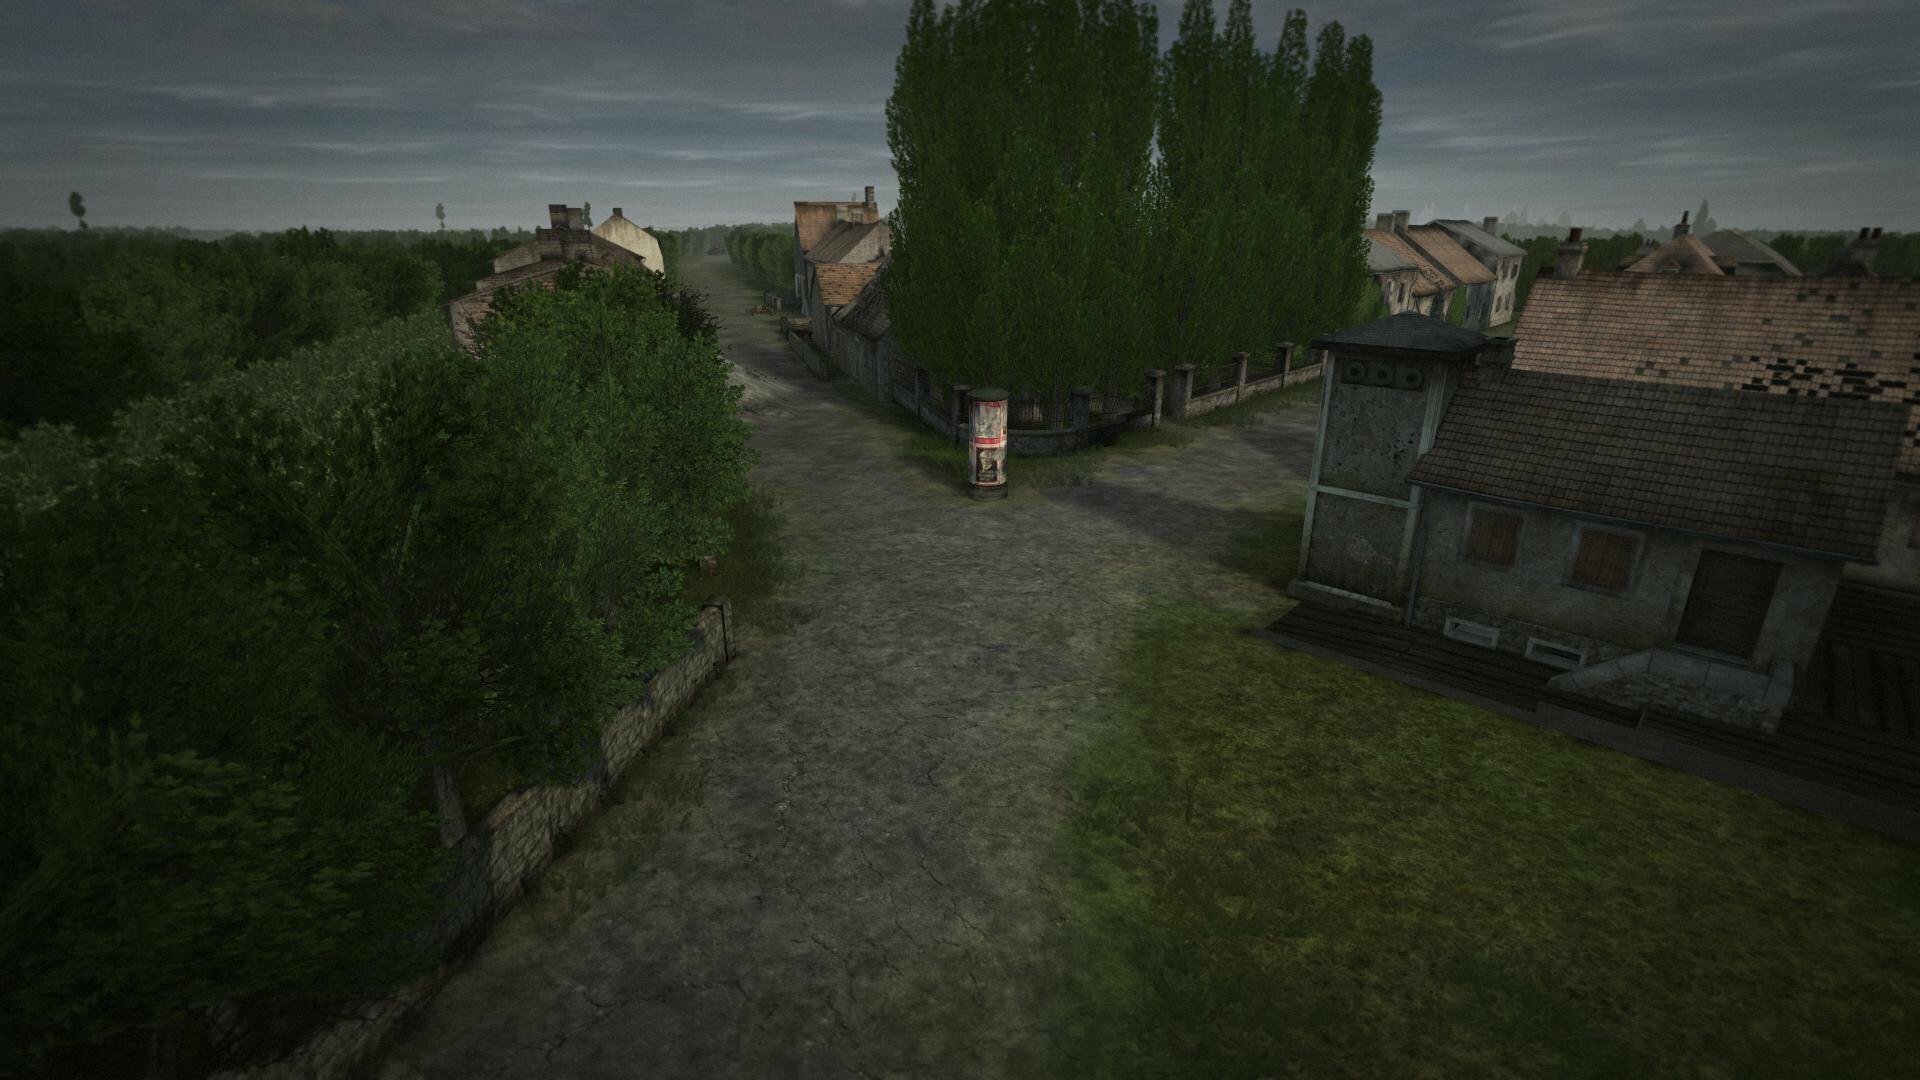
"The simultaneous attack on 10 June of the 505th Parachute Infantry on the left proved more difficult, largely because of the nature of the tactical problem. The regiment was to take the Montebourg Station and le Ham. The latter town was the western anchor of the German defense line and was situated on the Merderet between two small tributaries.
The plan of attack was for one battalion to seize the Station and defend to the north while the 2d came up behind and then swung west between the creeks to le Ham. The first part went well. Under heavy artillery rolling ahead of the attack, the 1st Battalion reached its objective within six hours of the jump-off. The 2d Battalion, following the 1st slightly farther north than intended in order to avoid flanking fire from the left, turned to attack le Ham along the axis of the Montebourg road.
The enemy troops at le Ham, some of whom had retreated there from the Station, fought stubbornly as they were pressed into their last stronghold. The attack was halted at dark still about a thousand yards from its objective."
 ---
---
 ---
---
 ---
---
 ---
---